2. Attach the " chain of light " for even Christmas lighting
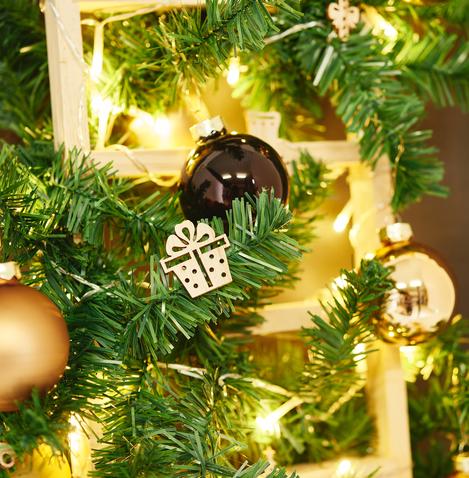
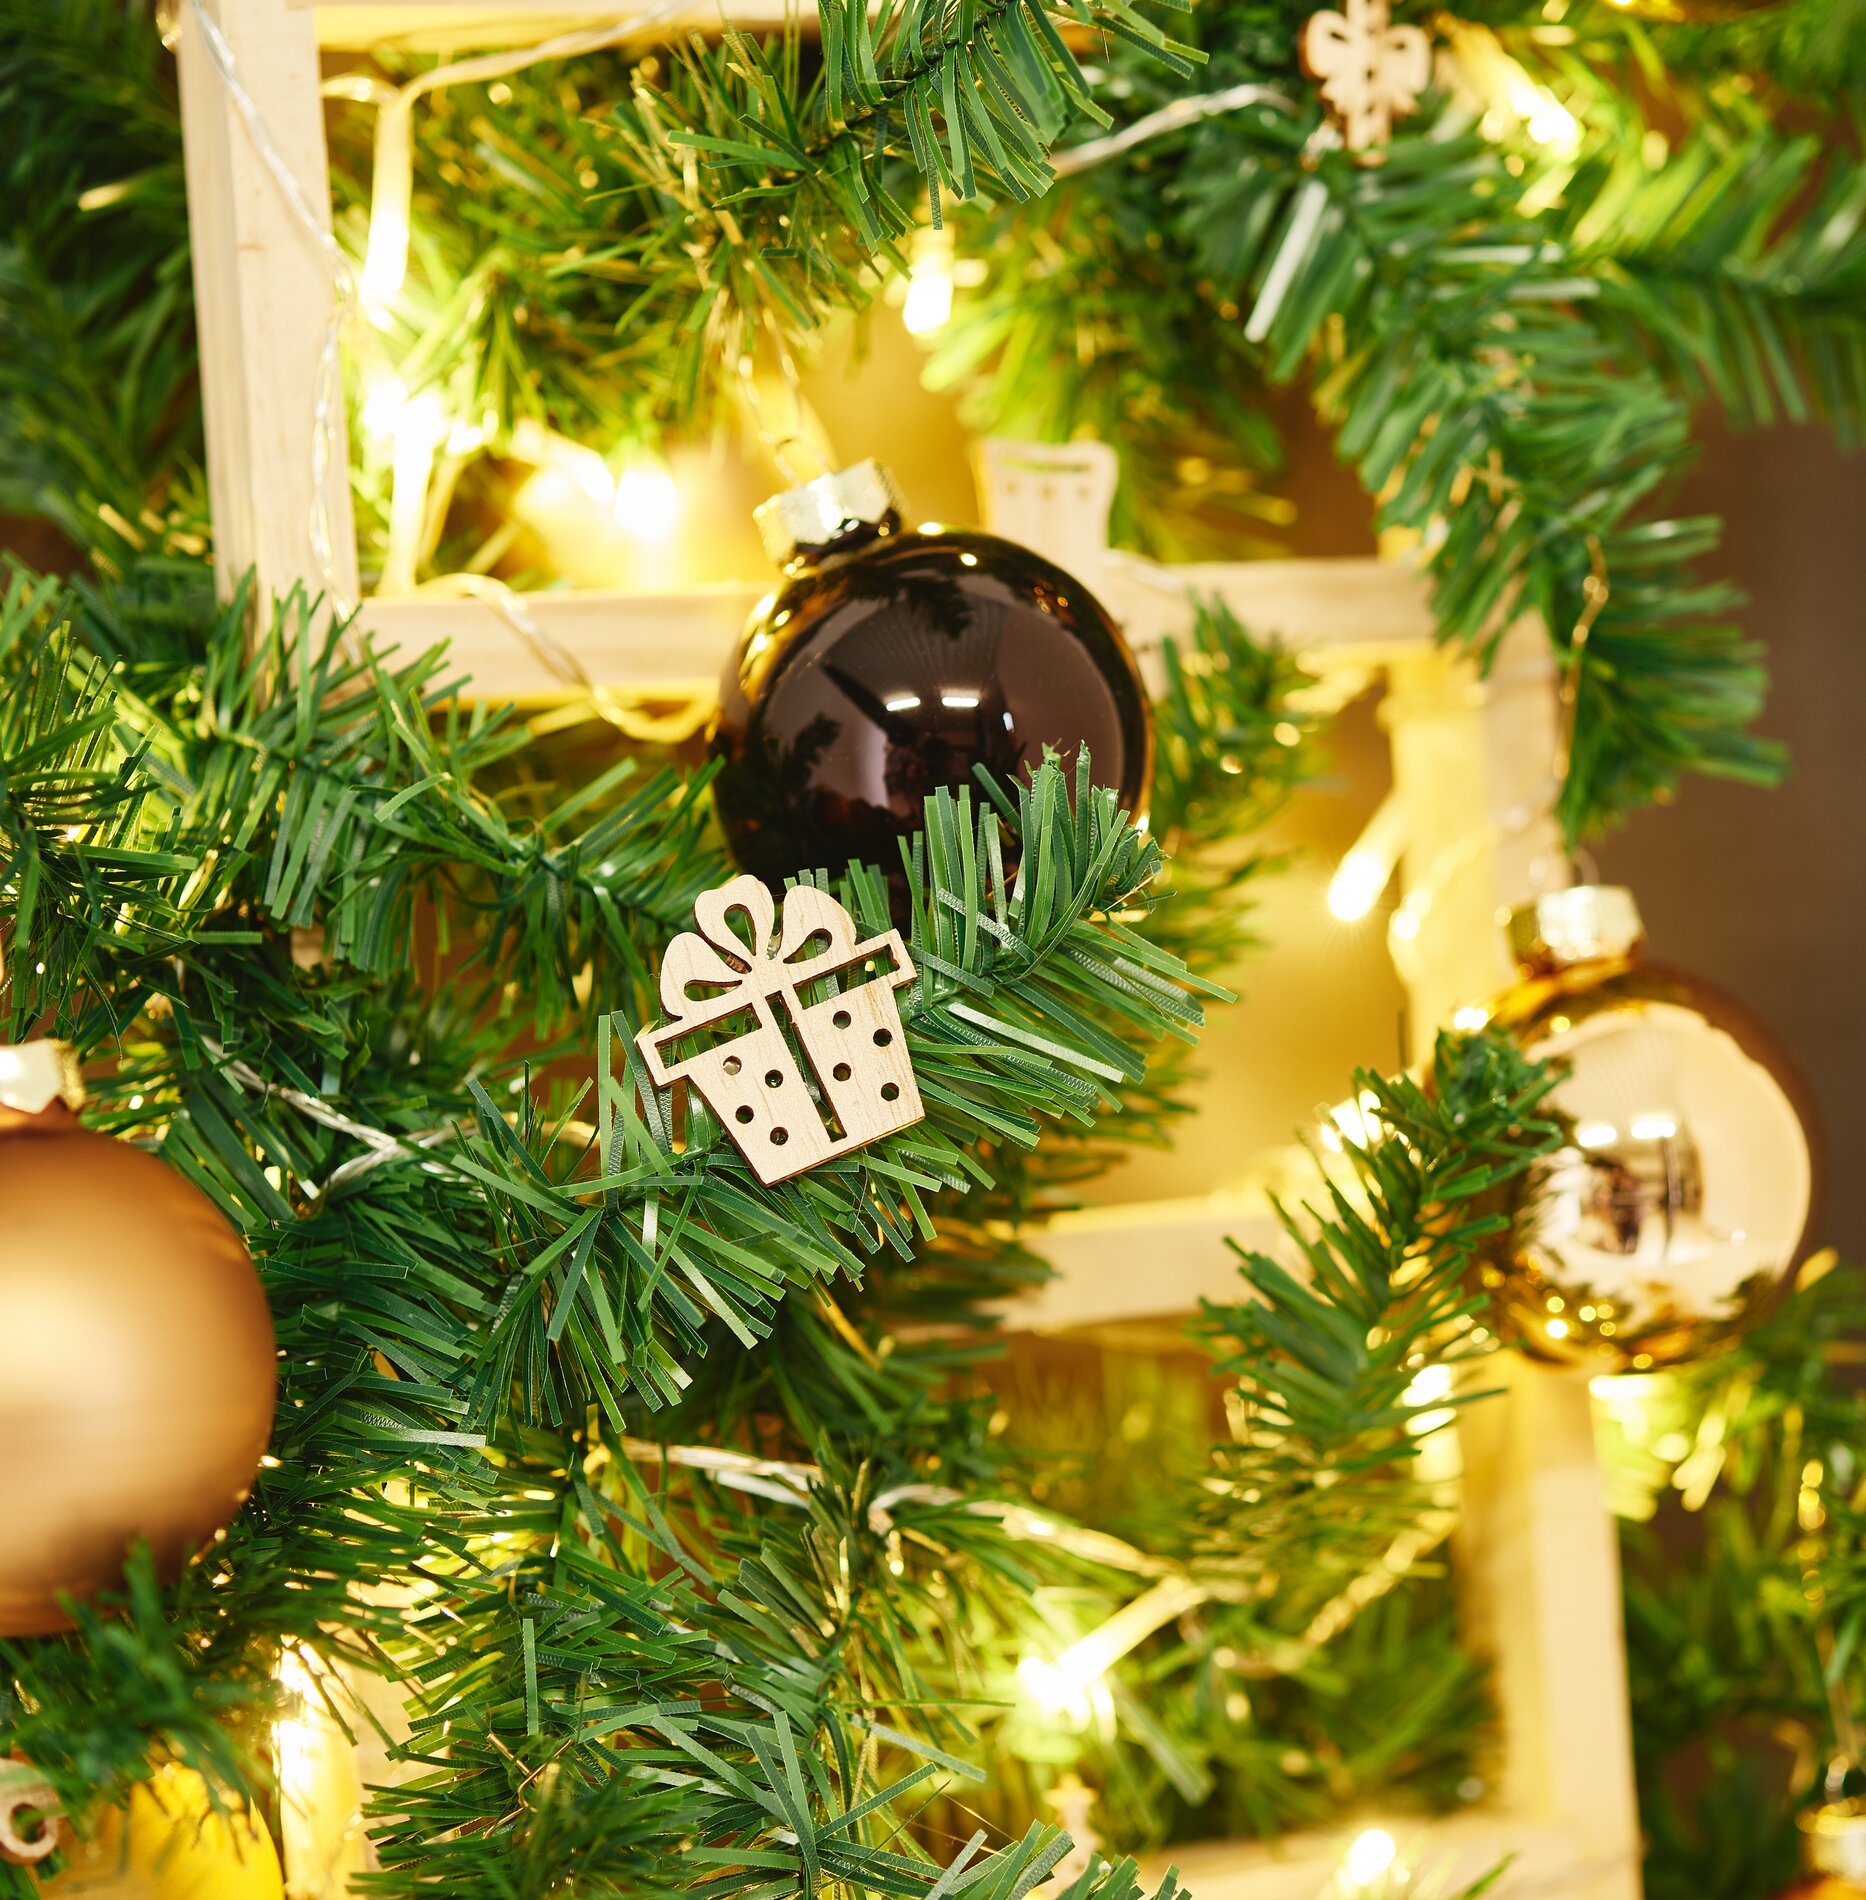
Next, wrap the chain of light around the ladder and the garland. It’s best to start at the bottom and work your way up so you can better control where the cables go. The lights should be placed between the pine branches, as this creates a soft, warm glow. Hide the battery compartment or the plugs as discreetly as possible behind a branch so that the DIY christmas decoration looks high-quality all around.
3. Securely attach the Christmas tree ornaments to the garland
Attach the Christmas tree ornaments to the garland using their hangers. Tie them on so they don’t tilt forward or touch each other. Even distribution is important: Place larger balls a bit lower and smaller ones higher up so that the christmas decoration looks balanced and the wooden ladder doesn’t appear top-heavy.
4. Attach the “ scatter decoration ” as delicate details
Glue the scatter decoration to the fir garland using hot glue. Hot glue sets very quickly and adheres reliably to many surfaces, making it ideal for small decorative elements. Apply only small dots of glue so that nothing oozes out between the branches. Place the scatter decoration in a staggered pattern between the ornaments; this way, the details look like small accents rather than a solid mass.
5. Final Check for a Neat Winter Light Display
Finally, realign the pine branches so that the chain of light shines through beautifully. Check to make sure all the ornaments are secure and nothing slips when you carefully lift the ladder. Now your Christmas ladder is ready to provide cozy winter lighting as a table or windowsill decoration.
If you’re looking for even more ideas for DIY christmas decoration, chains of lights and matching decorative accessories, stop by the online shop and put together your very own light display for the holiday season.