- Secure order
- Easy return shipment
- Service-Hotline 04231 - 66811
Instructions No. 4114
Difficulty: Beginner
Working time: 2 Hours


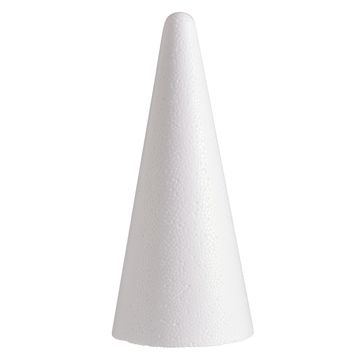
1) Cover the entire polystyrene cone with moss . Apply the adhesive in sections so it doesn't dry before the moss is in place. Press the moss firmly all around and work your way across the entire surface bit by bit. The moss creates the “needle-like look” of your tree and completely covers the polystyrene —this makes the result look more natural and significantly higher quality.
2) Arrange the pinecones decoratively and glue them in place Glue the pinecones all around the moss and press them down briefly until they stick. It’s best to start at the bottom and work your way up—this helps you arrange the pinecones in “layers” and fill in any gaps.
3) Place the star on top Glue the star in the center of the tree’s top. It serves as the visual finishing touch and immediately gives the DIY-Christmas tree its classic look right away. Make sure the star is positioned straight so the tree looks balanced and harmonious.
4) Wrap and hide the Micro LED chain of light Wrap the Micro LED chain of light around the tree in gentle spirals. Occasionally tuck the wire between moss and the pinecones so that the chain of light “disappears” visually and only the warm light remains visible. This creates an atmospheric christmas decoration, that looks especially cozy on a table, windowsill, or shelf.
5) Finishing Touches for a Harmonious Result Finally, check to make sure all the pinecones are secure and that the chain of light is evenly distributed. You can cover up small gaps with a piece of moss . If you’d like to give the tree as a gift, it looks especially beautiful when the light is already turned on as you present it.
If you’re looking for more Christmas craft ideas, you’ll find the perfect materials in our online shop for “ moss-” decorations, pinecone designs, and atmospheric LED “-chains of lights ”—perfect for creating your next winter decoration right away.